
Restoring 100 Year-Old Floors to Look Like Paris

Buying your first home almost always comes with a full bucket of nerves. Throw in a nasty surprise about the condition and you can have a serious overflow. That is what happened to me.
Dirty carpeting sprawled all over the 1100 square foot apartment. My heart sank when I saw it. Why couldn’t the final walk-through the night before my closing be smooth? I purchased real estate before but always with my husband. Now I was on my own. I knew enough to know that yards of loose carpet to often visited by the dog did not meet the “broom clean” standard. I would have to make a fuss or I would get saddled with the disposal. Ugh. And then it got worse.
When the realtor picked up the carpet (cut as area rugs) for inspection, I saw that the perimeter of the floors was much darker than the covered part. Giant pale rectangles were everywhere. On my previous visits to the unit, furniture was on top making it hard to look underneath.
According to my lawyer, I had to close the next day, without any credit for repair. Something about normal wear and tear and losing my deposit. I burst into tears and crawled back to the tiny East Village hotel room where I was staying.
One of my best friends had died unexpectedly the day before and I hadn’t had a home in almost 3 months. Even if refinishing was possible (unclear since my apartment was built over 100 years ago and the floors are very thin), it would delay my other contractor by a week and my move for at least another fortnight. I was desolate. Not only was cost a big factor, the thought of new floors broke my heart. I wanted to retain the apartment’s historic character. It was a dark night.

The state of affairs during the walk-through: smelly carpeting and two-toned floors. The flooring contractor and I now hypothesize that the floors were fumed to create a gray tone and then a darker stain applied to the floor perimeter.
It was pouring the next day, but I also was showered in kindness. Every single one of my designer friends came through with a referral for a good floor refinisher. And the contractors, upon hearing my story, all miraculously showed up either that day or the next to assess the damage.
The situation was cloudy but not doomed. The once beautiful oak parquet floors had one final sand in them. There was no room for error. With luck, I might even be able to bring back the walnut and maple accent border. Dreams of aged, pale floors like those found in old Paris apartments began to dance in my head. I would never have selected the original gray flooring color anyway.

I am not a flooring professional, but here is how I got my character-filled Paris floors in Queens, NY.

1. Accept Some Imperfections
Anything 100 years old will (and should, in my opinion) show some age. I still would be living in a hotel if I had the floor contractor fill every gap and hole. And most dark stains will not come out. Be prepared to live with them.
2. Use the Correct Sanding Technique
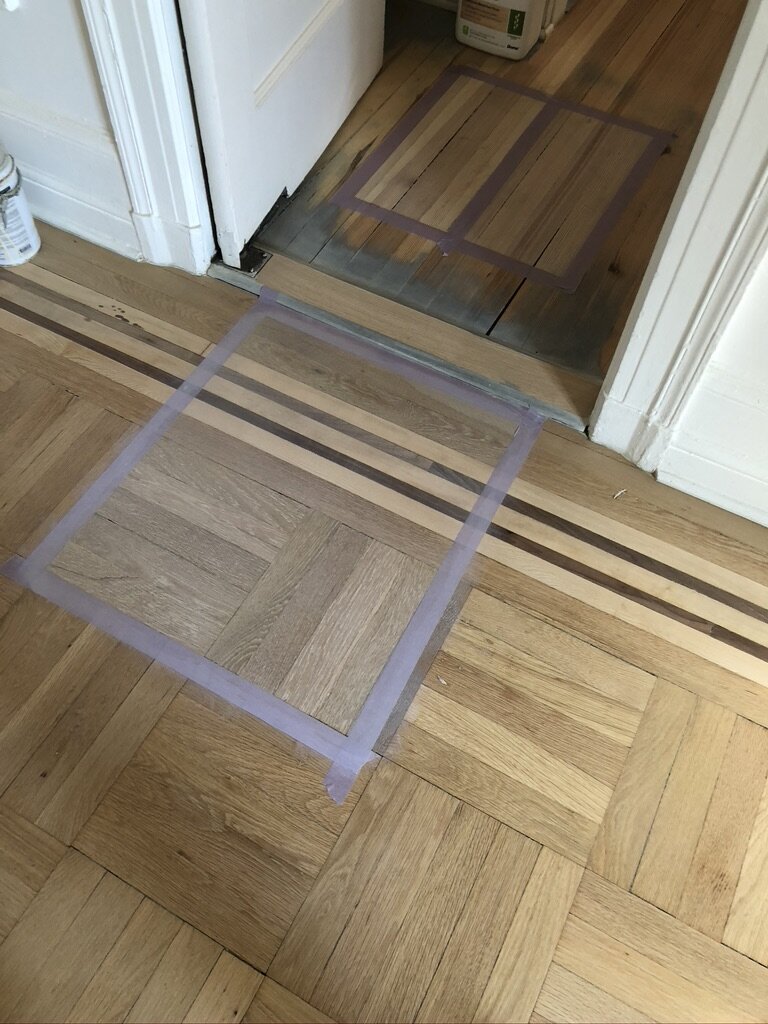
Typically, floors can only be sanded 3-5 times. Drum power sanders take off a lot of wood. Use one and you might not have any floor left! If your floor is old and thin, use the gentler orbital sander. All floors and their finishes are different but inquire about the appropriate grit. Delicate worn spots should be hand sanded. My contractor babied my floors during this stage with lots of hand sanding.
3. Assess Your Wood When Selecting Finish
Some woods are more absorbent than others and will vary in how they take the floor finish. I had 3 different types of wood in the principal rooms: maple, walnut and oak. Fir was in the kitchen. I sampled each species to be certain I would be happy with the end result.
My final finish selection seen in the dining room.
By the way, we think the previous owner ended up with the pale rectangles because he failed to sample the wood border. Oak soaks up a finish. Maple and walnut are harder woods and are far less absorbent.

Look at the original dark gray in the dining room! We came a long way baby. The dark square sample at right is the fuming process that was attempted by the previous owners. Maple and walnut did not take that finish well.
4. Hand Rub
I chose a hard wax oil finish that is environmentally friendly. This type of finish is especially good for historic homes because it can take touch ups without the need for more sanding. Common brands are Rubio Monocoat and Bona Craft Oil. My floor color is Bona Craft Oil 2K in Frost. A polyurethane coat is not necessary for this type of finish because the product reacts with the cellular structure of the wood to create its own protective layer.

Move-in mess but a good shot of the floors before I put my rugs down.
Although not technically necessary, at the last minute I decided to top my floor with one coat of Bona’s water based urethane, Bona Traffic, in matte, for extra durability. You don’t even know it is there.
5. Safety First
Finally, remember to turn off any gas fireplaces before the work starts. You don’t want pilot lights on with all that dust flying around. I delayed the start date by one day to have the fireplace people in for shut-off but the peace of mind was well worth it. Watering the “bags and rags” each work day is also essential so that dust and floor products don’t combust.

Giving big shout out to Eric and State of the Art flooring for helping me get the floors of my dreams.
